How do I use Live Chat with the WhatsApp Chatbot turned on?

Chatjy’s Live Chat Page is your one-stop shop for receiving and responding to all WhatsApp Chats. This tutorial will teach you how to use the Live Chat Page effectively when you have a WhatsApp Chatbot in action!

How to interact with
customers using Live Chat

On WhatsApp, a user sends you a text message.
When a customer messages you, the conversation switches to Active Chat. The WhatsApp Chatbot handles all customer inquiries in Active Chat.

The Chatbot responds immediately with an automated text. If the user is not satisfied with the response, they can request intervention, which causes the chat to enter the intervened state.
The user requests intervention.
When a user requests ‘Intervention,’ it means they want to speak with your Live Chat Agent to resolve their issue. If you already have a Live Chat Agent active on Chatjy Dashboard, they can intervene in the Chat by clicking the ‘Intervene’ Button.
A live chat agent joins the conversation.
Upon Intervention, your user and the Live Chat Agent can communicate in real time. This allows your agent to respond to the user’s query!
When the query is finished, click 'Resolve'.
The only person who can see the Chat is the agent who intervenes. So, after successfully resolving a query, request that your agent click the ‘Resolve’ button so that the chat is visible to all.

The chat will be moved to the History Page 24 hours after the last conversation with the user.
Edit/Add User Attributes
As a result, your agent successfully responded to the user’s query. However, while responding to the query, they discovered that the user’s email address had changed and wanted to save the new email address.

Your agent can update the user’s Email ID in the User Profile using the attributes section.
Adding and Editing Tags
Tags are classified into two types: automated tags and manual tags.

“First Message Tag,” “API Tags,” and “Broadcast Tags” are examples of automated tags.

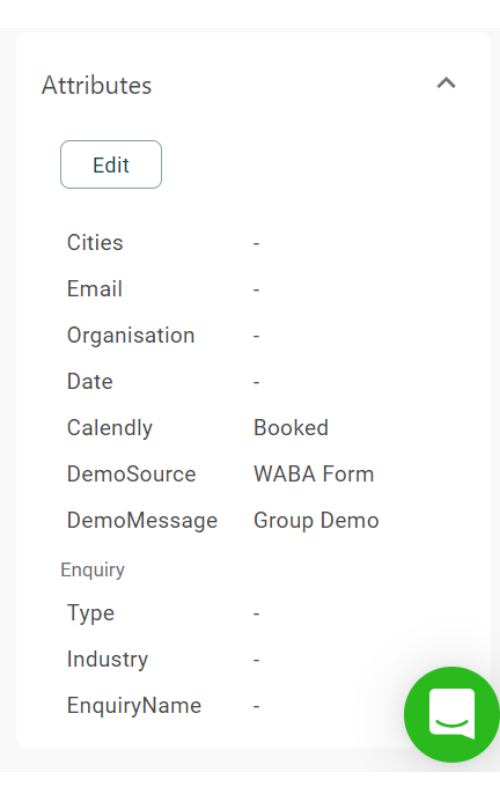
You or your live chat agents add manual tags. It is extremely simple to assign tags to users. First, in the Manage Section, configure all of the tags that are relevant to your use case from the Tags Category.

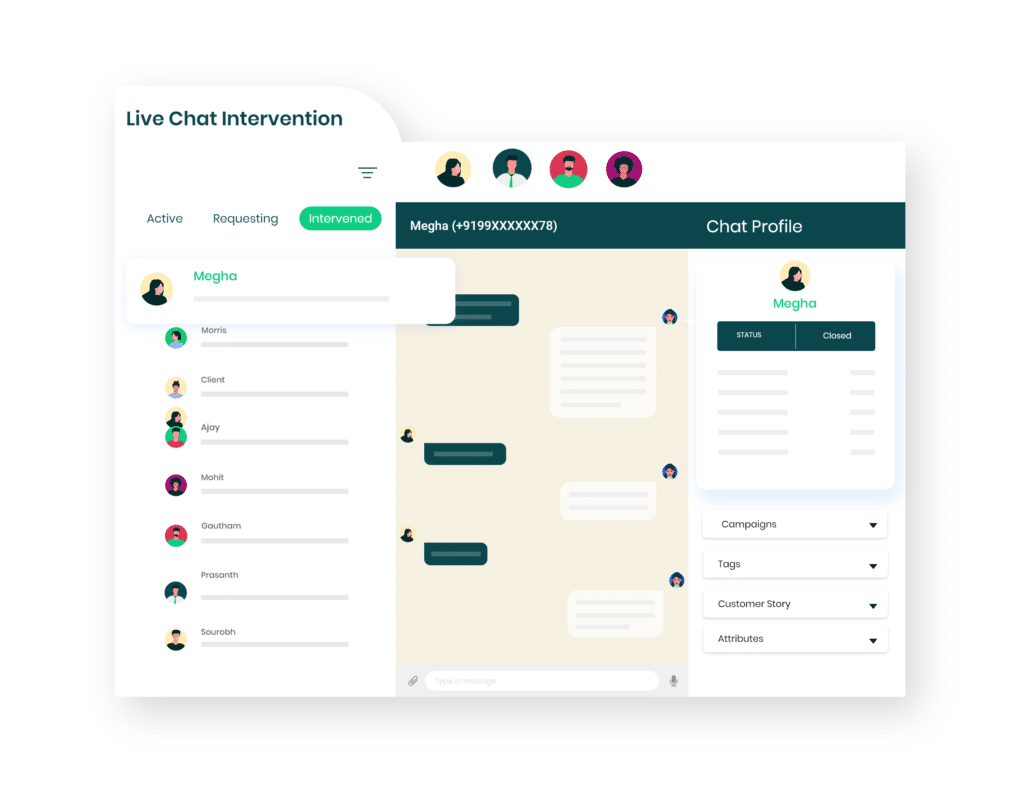
Then, as shown in the image on the left, your agents can manually assign the tag to a specific user by clicking the drop-down button.
Customer Journey Tracking
Customer journey records all events exchanged between the Agent and the User.

For example, which agent intervened in the chat, which agent added which tag, which campaigns were sent to the user, and so on.

Furthermore, the date and time of each event are mapped.

Customer Journey helps you understand a user’s intent and send them better campaigns and template messages that lead to conversions.